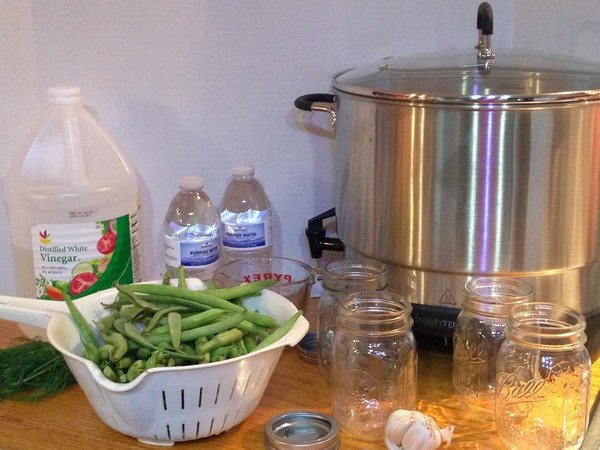
 You may remember that a couple of months ago, the Accidental Locavore was sent one of the new Ball freshTech Electric Water Bath Canner and Multi Cookers, but I hadn’t had a chance to put it through its paces. This week at the CSA we were encouraged to pick as many green beans as we wanted, which seemed to be the perfect “test drive” for the canner. I’ve always loved dilly beans, and with dill growing abundantly in the next row at the farm, and my own garlic just getting harvested, it was time to get busy!
 One of the reasons Ball created the canner (and a big selling point), was that they wanted to make canning accessible for everyone. And they did. Trust me, the hardest thing about the canner is finding a place to put it — after that, everything is a snap!
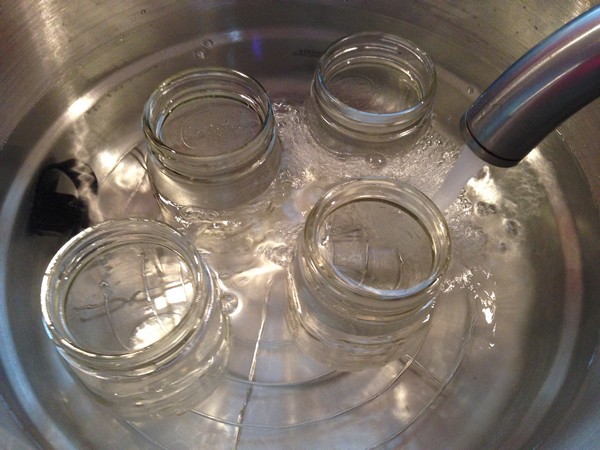
Because Ball was being very generous they included dozens of jars, too, so I was all set. To start, you wash the jars, rinse them and put them in the machine. Fill with water to top them, add the lid and wait for the machine to bring the water to a simmer. 10 minutes later your jars are prepped. There was no mention of what to do with the lids and rings, so I put them in the pot too.
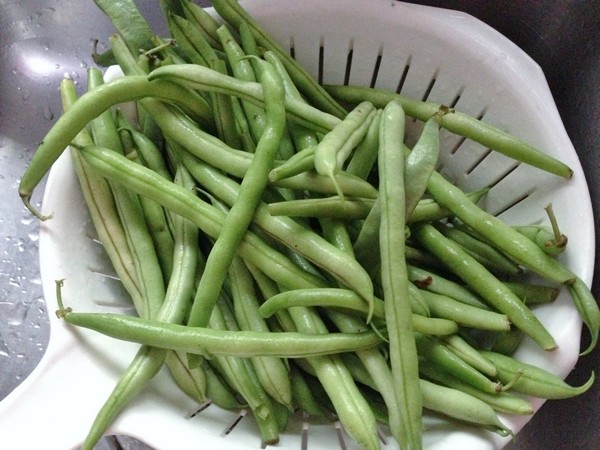
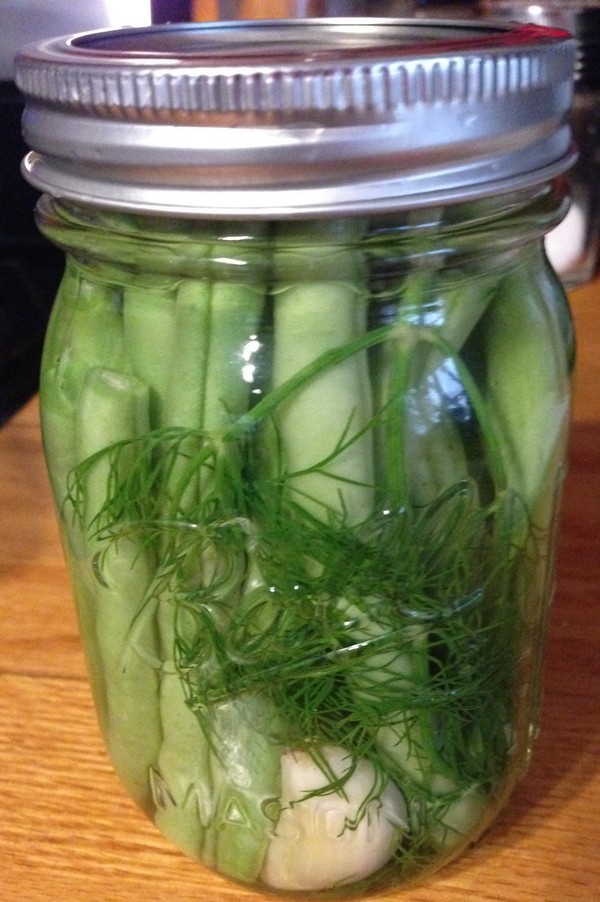
 While the jars were heating, I prepped the beans and made the brine with the easy recipe that came with the canner. I halved it, since it turned out that the massive bag o’ beans I picked was only a pound and a half. You then stuff the beans into the jars, one jar at a time, with a sprig of dill and a garlic clove. I looked longingly at some nice cilantro but decided to play it straight this time. Add the brine, wipe the rims and place back in the machine. Simple enough.
 Once all the jars are back in the machine, you add water to cover and place the diffuser rack over the jars. Lid goes back on, and machine gets turned to “canning”. When the water boils, set the timer for 10 minutes and all the hard work is done.
After the time is up, you carefully remove the lid, and release the water through the spigot on the side. If you were stupid like me, and forgot to remove the plug to the spigot, no worries, a pair of tongs pulled that right out! When the water has run out, you simply lift the jars out onto a dishtowel or cutting board and let them cool for 12 hours. Et voilà ! The whole thing took about an hour and a half, but I’m sure that once I get more accustomed to it, it will go even faster (it did). A week or so later, the beans taste great and I’ve already made another batch!
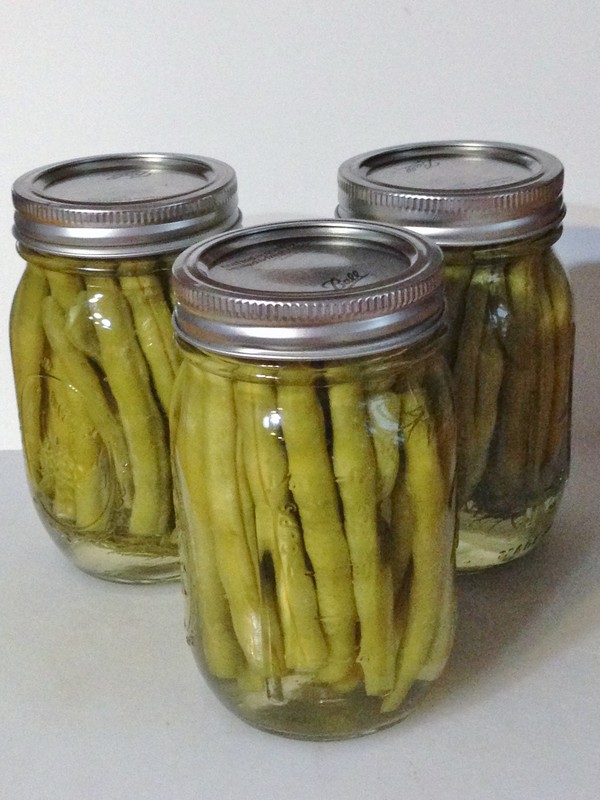 My verdict: It’s going to make an avid canner/pickler out of me! It’s really easy to use and because it’s all preset, most of the worries have vanished. In addition to the booklets that came with it, and because I’m such a newbie at this, I was referring to the canning book by Ball, the Complete Book of Home Preserving, that my cousin gave me a couple of years ago, for technical questions and terms. So, if you’ve got the space and are yearning to can (Peter, I’m talking to you), this is your tool! Just be sure to have the companion book because you’ll have questions and it has all the answers. Big thanks to Ball for sending the machine. I’m going to have to find a more accessible place to put it as I’ll be using it a lot!
Thanks, good advice on the lids. They did seal perfectly.
Note that the lids should not boil as it can prevent them from sealing. Next time I suggest putting them in a bowl separately and covering them with water that boiled and cooled for 5 minutes, then leave them in the water until you put them on the jars. (The bands can go in the canner with the jars, or soak with the lids.
Pressure canners seal with a gasket like a pressure cooker, so this is definitely not for pressure canning.
If I had the kitchen space for this device I would get one myself.
It’s a great machine and keeps the kitchen pretty cool (the last batch of beans I made was in 90 degree heat). I don’t think it’s made for pressurized canning, but you could contact them and ask. They’ve been really helpful!
i didn’t know they made an electric canner… That would make it so much easier. Will it do pressurized canning as well?